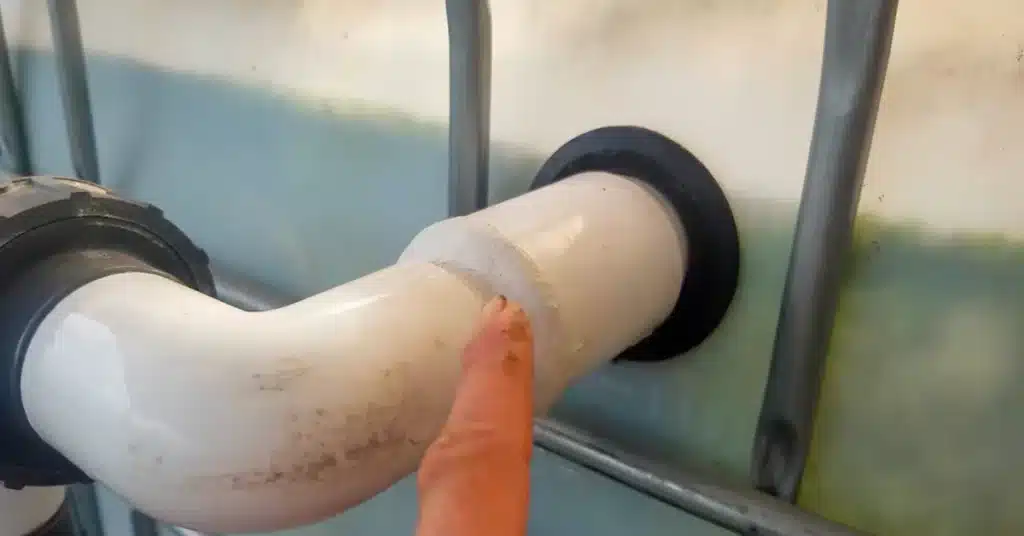
If you want to know the process of using JB Water Weld, then you are in the right place. To understand how to use JB Water Weld, you must check out its detailed information.
JB Water Weld is a putty glue stick. The method is a bit different than any ordinary glue. You need to cut out a small piece of glue and then knead it well to prepare. To know the method in detail, a step-by-step process is mentioned below.
Let’s check it out first!
Read More: How to Use JB Weld Steel Stick?
Read More: JB Weld Steel Stick vs. Water Weld
What Is JB Water Weld?
JB Water Weld is a two-part epoxy putty stick. It is hand-mixable. So, the use process is a bit different than other standard glues. There is a particular method of using this stick that you need to know. The best thing about this glue is it can cure underwater. So, the ideal purpose of this adhesive is to repair fuel tanks, showers, tubs, pools, drains, spas, boats, and more like these.
The Water Weld needs only 25 minutes to set and 1 hour to cure. It is a fast-curing adhesive, making it more useful for water-related projects. The Water Weld is a strong putty stick that has a shear strength of 1300 PSI. Also, it can withstand temperatures up to 300F and intermittent temperatures of 350F.
Moreover, the WaterWeld forms a chemical resistance against hydraulic fluids, petroleum, and other chemicals once it’s cured. You can use it on multiple materials like stainless steel, iron, bronze, copper, aluminum, plastic, fiberglass, and even PVC. It is white, but when it sets properly, the color turns white.
With superior performance and quality, the JB Water Weld has become the World’s Strongest Bond. You can use it on both small and big projects yourself, as it is easy to use as well. Overall, it is an excellent putty stick that you can use, but first, you must learn how to use it.
Read More: JB Marine Weld vs. WaterWeld
How to Use JB Water Weld?
To use the Water Weld stick glue, you need to get through all the instructions about the method. Check the step-by-step to be specific about how to make the adhesive work for your project.

Step 1: Prepare And Arrange The Equipment
The first thing you need to do is arrange all the equipment and tools that you may need during the process. So, make sure your equipment is all near your reach.
Step 2: Cut Out The Stick
After that, you need to cut out a small piece of glue according to your project. Ensure that you don’t take too much of the product at first. Cut out another piece again if you think you need more. That’s how you can avoid wastage.
Step 3: Kneading The Glue
Once you cut out the glue, you need to knead it by hand. After some time of kneading, you will notice it becomes warm. It becomes activated to stick to the surface properly. So, make sure you knead the glue well before application.
Step 4: Application
Now, you should start the application. Apply the glue on the areas that need to be repaired. Make sure you wear gloves while kneading and applying them to the material. After kneading the glue properly, let it sit for a while, then start the application. Use water on your hands to prevent sticking to the gloves or fingers.
Step 5: Set And Cure
After applying the glue to the material, let it set properly. It needs 25 minutes to set and an hour to cure completely. So, you need to give it that much time for a secured bond. Ensure that it is properly cured. These are the things you need to follow while using JB Water Weld.
Read More: How to Use JB Weld Plastic Bonder?
Things to Consider When Using JB Water Weld
Some things need to be discussed when considering using JB Water Weld. First, cut out the correct amount of glue before you start kneading. When kneading, you must use gloves. Many people don’t use gloves, but it is necessary because it can irritate the skin.
Besides, use some water if the glue feels hard and sticky to your gloves or fingers. It helps to soften the glue and prevent it from sticking to your gloves or hands. Also, get some parchment paper to rest the bond before applying it to your material. If you forget to use gloves and glue sticks to your fingers, you can easily clean this using water. It is as simple as that.
How long does it take for JB water weld to harden?
As always, these times can depend on the specific conditions under which the product is used, such as temperature and humidity. It is always best to read and follow the manufacturer’s instructions for the specific product you are using.
What does JB water weld stick to?
Can you use JB water weld while wet?
Last Opinion
As you know, the method of using JB Water Weld, you can use it in various ways to repair several materials. Make sure you get through all the information about how to use JB Water Weld, then start your process.
You must also know the caution, like wearing gloves which is the most important thing to consider. Use the glue correctly and make the best repair with a long-lasting bonding.

